

I love color and Stephanie Sersich art beads offer up gorgeous glass color pairings. Wearing her earrings is a guaranteed conversation starter. For the last couple of years I've ordered a pair from her website for my birthday. This year I ordered just the beads from her Etsy shop and enjoyed making them myself.

Although I spend a lot of time creating with fiber, I still love beading. My bead collection is the happy result of years of jewelry book design.

I keep my stash sorted by color. I found fishing tackle boxes work best, they offer lots of compartments and clasp shut.

I was planning on pairing Stephanie's blue bird beads with glass beads but the flower shapes of the vintage plastic beads worked best.

I test strung the beads on a long head pin. Slip a small seed bead first, it will prevent the larger holed beads from falling off.

Play with the arrangement until you find the right balance of colors and shapes. I rediscovered glass mushroom beads in my stash and turned them into a pair of earrings too.

Use round nose pliers to shape the end of the headpin into a loop above the last bead.
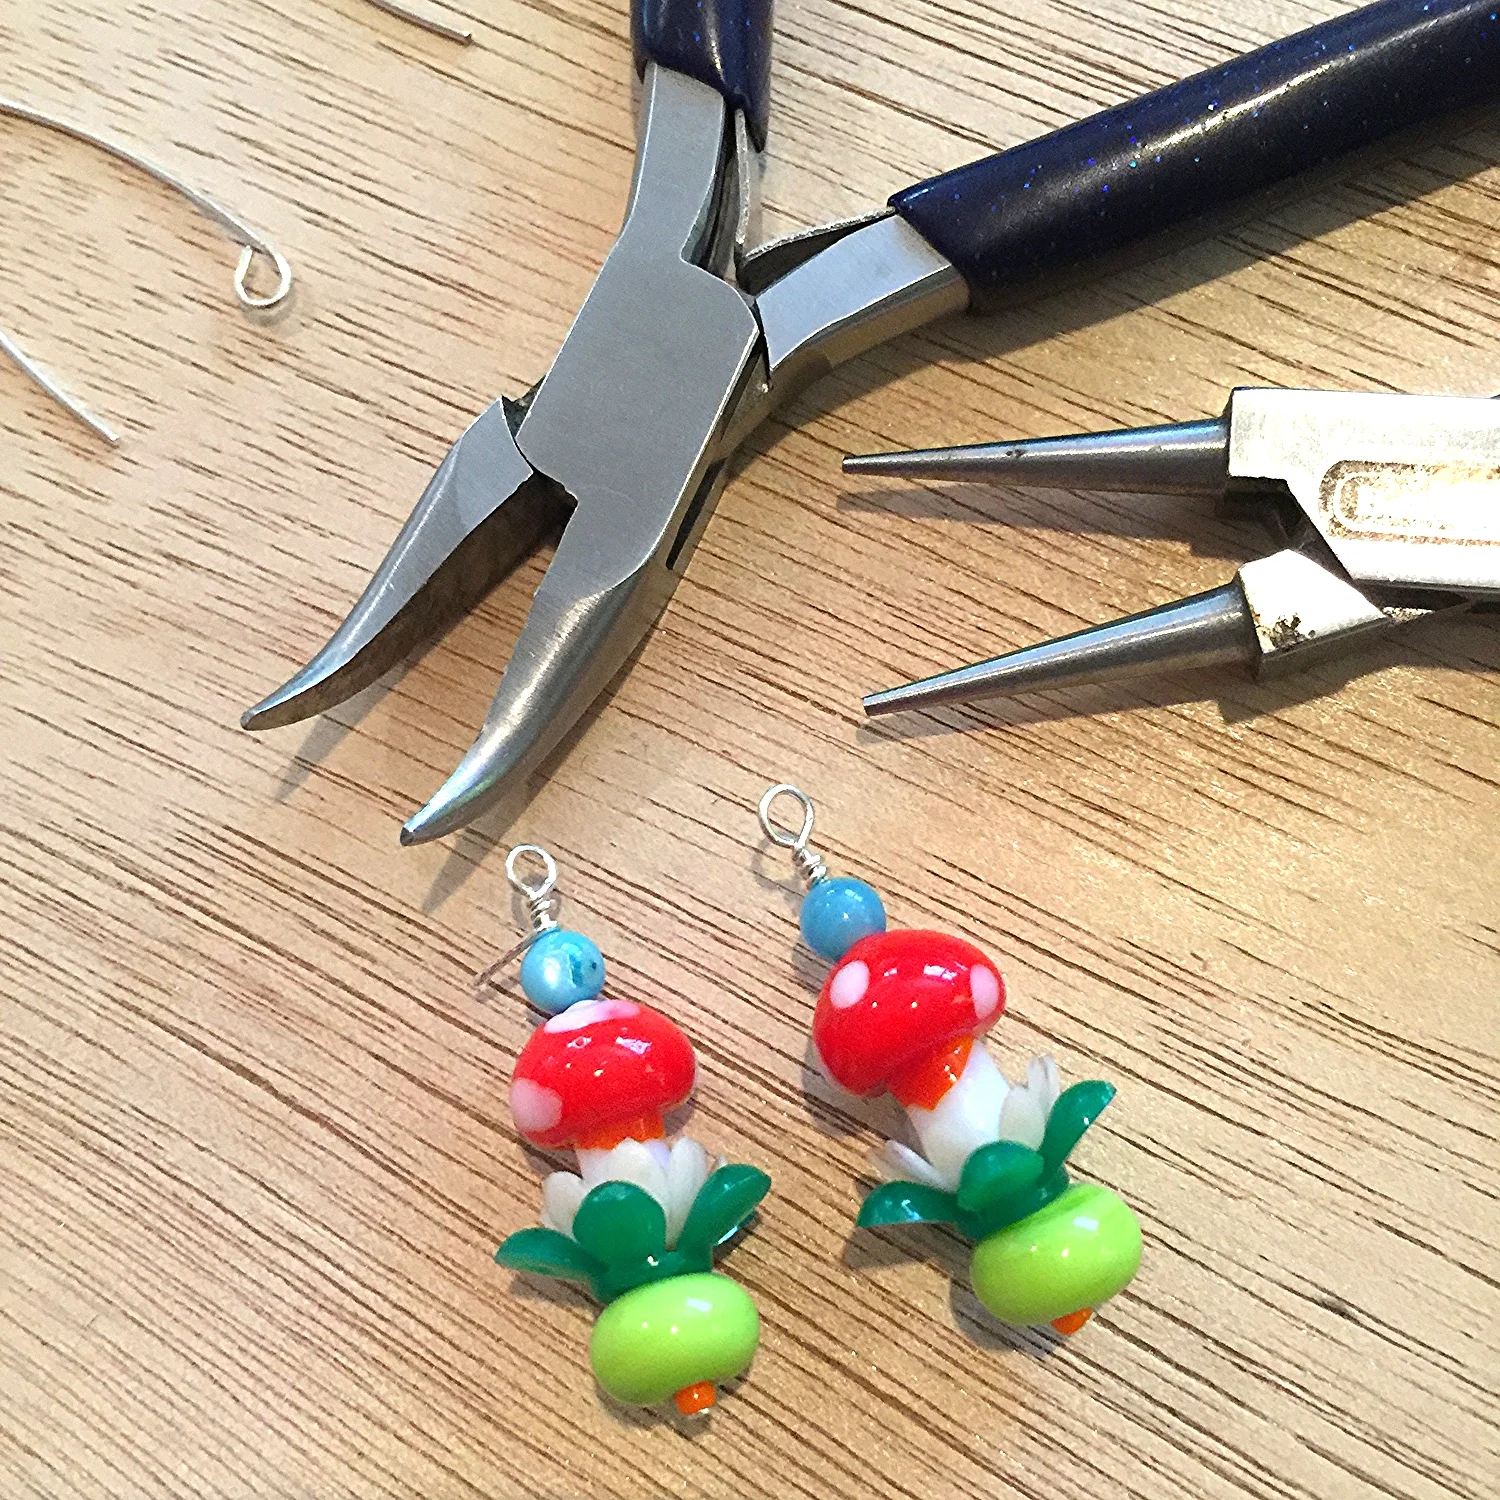
Clamp the loop with the bent nose pliers while you grab the short wire end with the round nose pliers. Wrap the end tightly around the base of the loop. Trim the wire end with the wire cutters. Repeat the process with second earring dangle. Link the finished dangle to the loop end of the earring wires, then hang a little sunshine from your ears.


