

Time has flown since Alewives wonderful 'Forest Frolics' launch party! They outdid themselves getting the word out and teasing everyone with gorgeous previews of their original 'Forest Frolics' quilt. The event inspired the tote and the tutorial.

There was a wonderful crowd, I made great new Maine friends and was grateful for local friends who made a Saturday morning trip to Damariscotta.

Not only were we surrounded by gorgeous fabrics, there was cake!

My daughter held court at the table and introduced partygoers to 'Fletcher Fox' who was finished just in time for the big event.

Every partygoer was gifted with a hexi favor pack. I was fascinated by Pam's in store paper pieced hexi demonstration. I bought the 1" acrylic hexagon cutting template, extra paper pieces and a fabric glue pen. I dug right into my 'Forest Frolic' stash and before I knew it my studio table was covered in hexi. When I was busy folding and gluing the fabric to the paper pieces, I decided that I'd get the most enjoyment by turning my growing pile into a tote.

Arranging the hexies is a fun puzzle, ironically it took awhile to make them appear randomly placed. I laid out two 11" x 14" blocks, each consisting of nine rows of six hexies. I marked the individual paper hexi backs alphabetically A-Q by row and numbered them 1-6 for their row position.

I stacked each letter row together and then started hand stitching the tops and bottoms of each letter stack together. After the rows were finished I stitched the sides of the rows together vertically, row A to B and then added row C to the other side of row B.
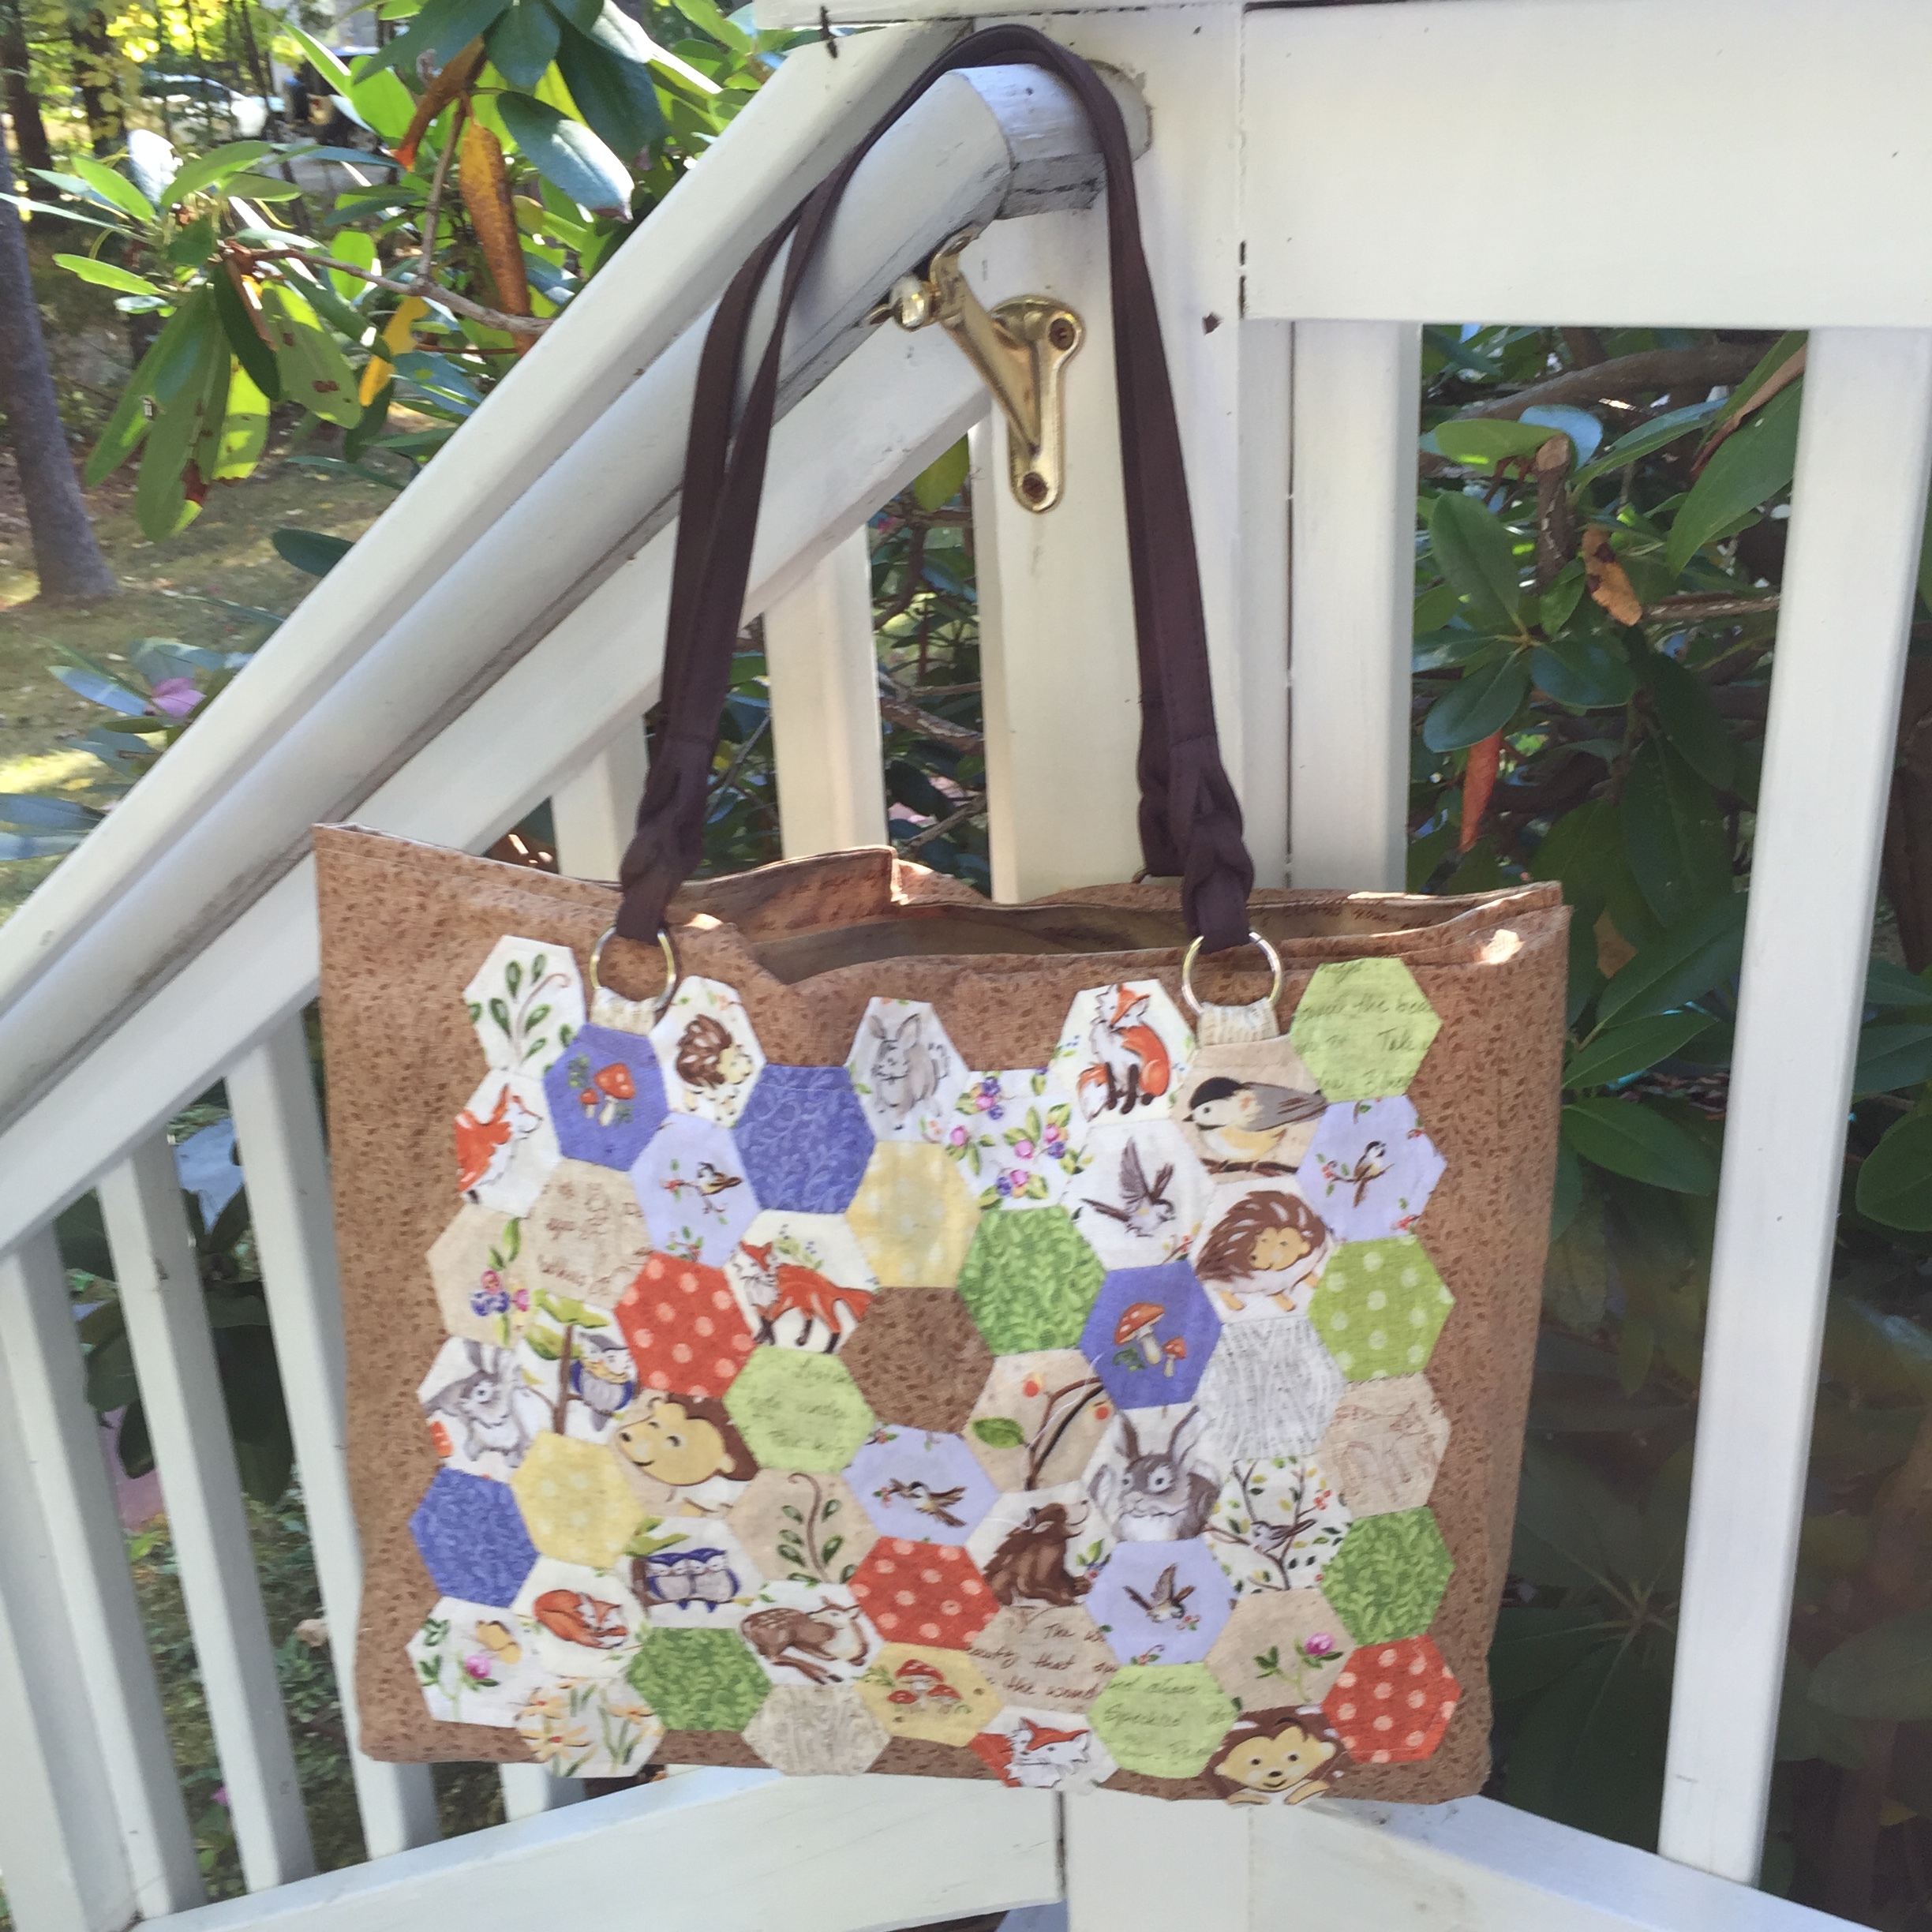
Once the blocks were stitched together I designed a generous sized tote bag around their dimensions. The brown fern print is a great neutral backdrop for the hexies. I wanted large pockets to help organization, the cute animal blocks from my panel were the ideal solution. By showcasing them against the script background the bag was a perfect candidate to be reversible.
Materials:
Forest Frolics Red Rooster, by Heidi Boyd
- Fabric scraps from the entire collection to make the hexies
- 1" Paper Hexies
- 1" Hexagon Acrylic cutting template
- Fabric Glue Pen
- Partial Panel – 2 animal squares (pockets)
- .5 yard Brown Fern
- .5 yard Script
- .5 yard Green Polka Dot
- .25 yard Woodgrain
- 1.25 yard Heavy weight Interfacing
- 1 yard Heat and Bond (r) fusible interfacing (sewable)
- 2 Braided Microfiber Handles - Everything Mary
- Thread
Tools:
- Sewing Machine
- Rotary Cutter and Matt
- Iron
- Scissors
- Sewing Needle and Pins
- Pencil
Cut the following fabric pieces.
Six 16" x 13.25" bag fronts & backs – 2 Brown fern (exterior) , 2 Text (interior), 2 Interfacing
Six 5"x 13.25" bag sides – 2 Brown fern, 2 Text, 2 Interfacing
Three 5" x 16" bag base – 1 Brown fern, 1 Text, 1 Interfacing
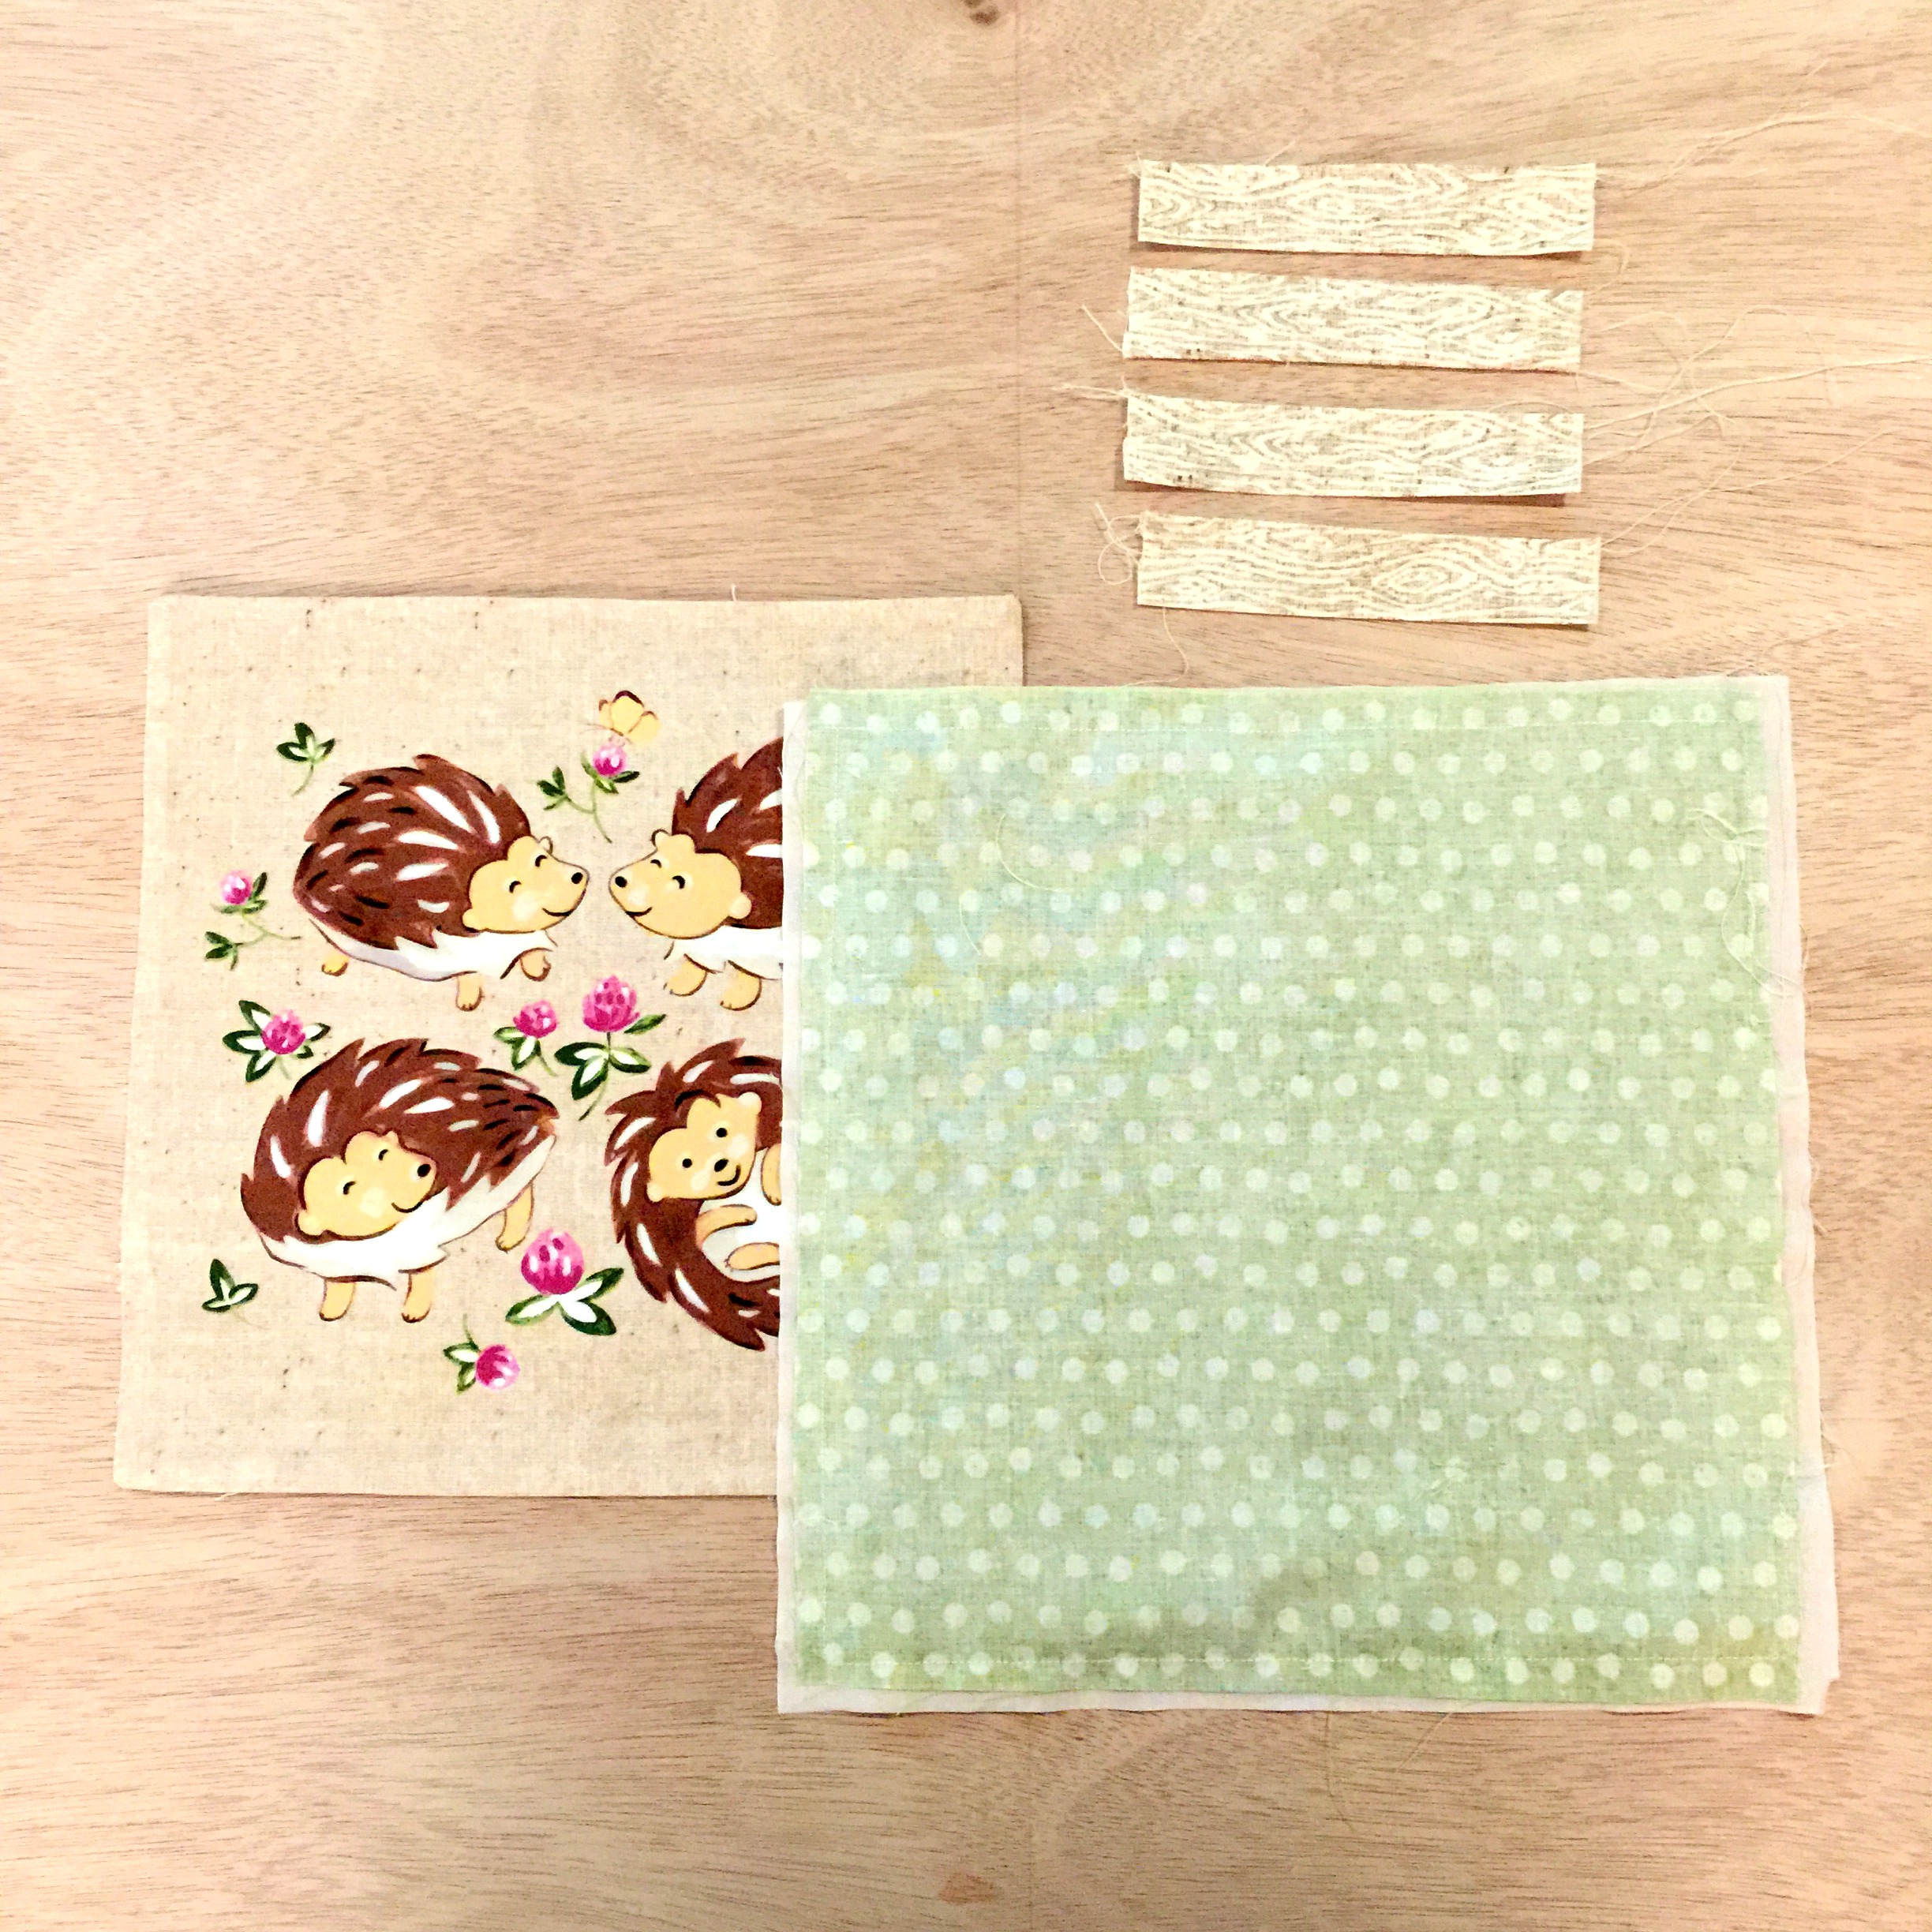
Six 10.75" x 10.75" pockets – 2 Panel squares, 2 Green dot, 2 Interfacing
Eight 5.5" x 2.5" Straps – 4 Wood grain, 4 Interfacing
14.5" x 4.5" Plastic canvas
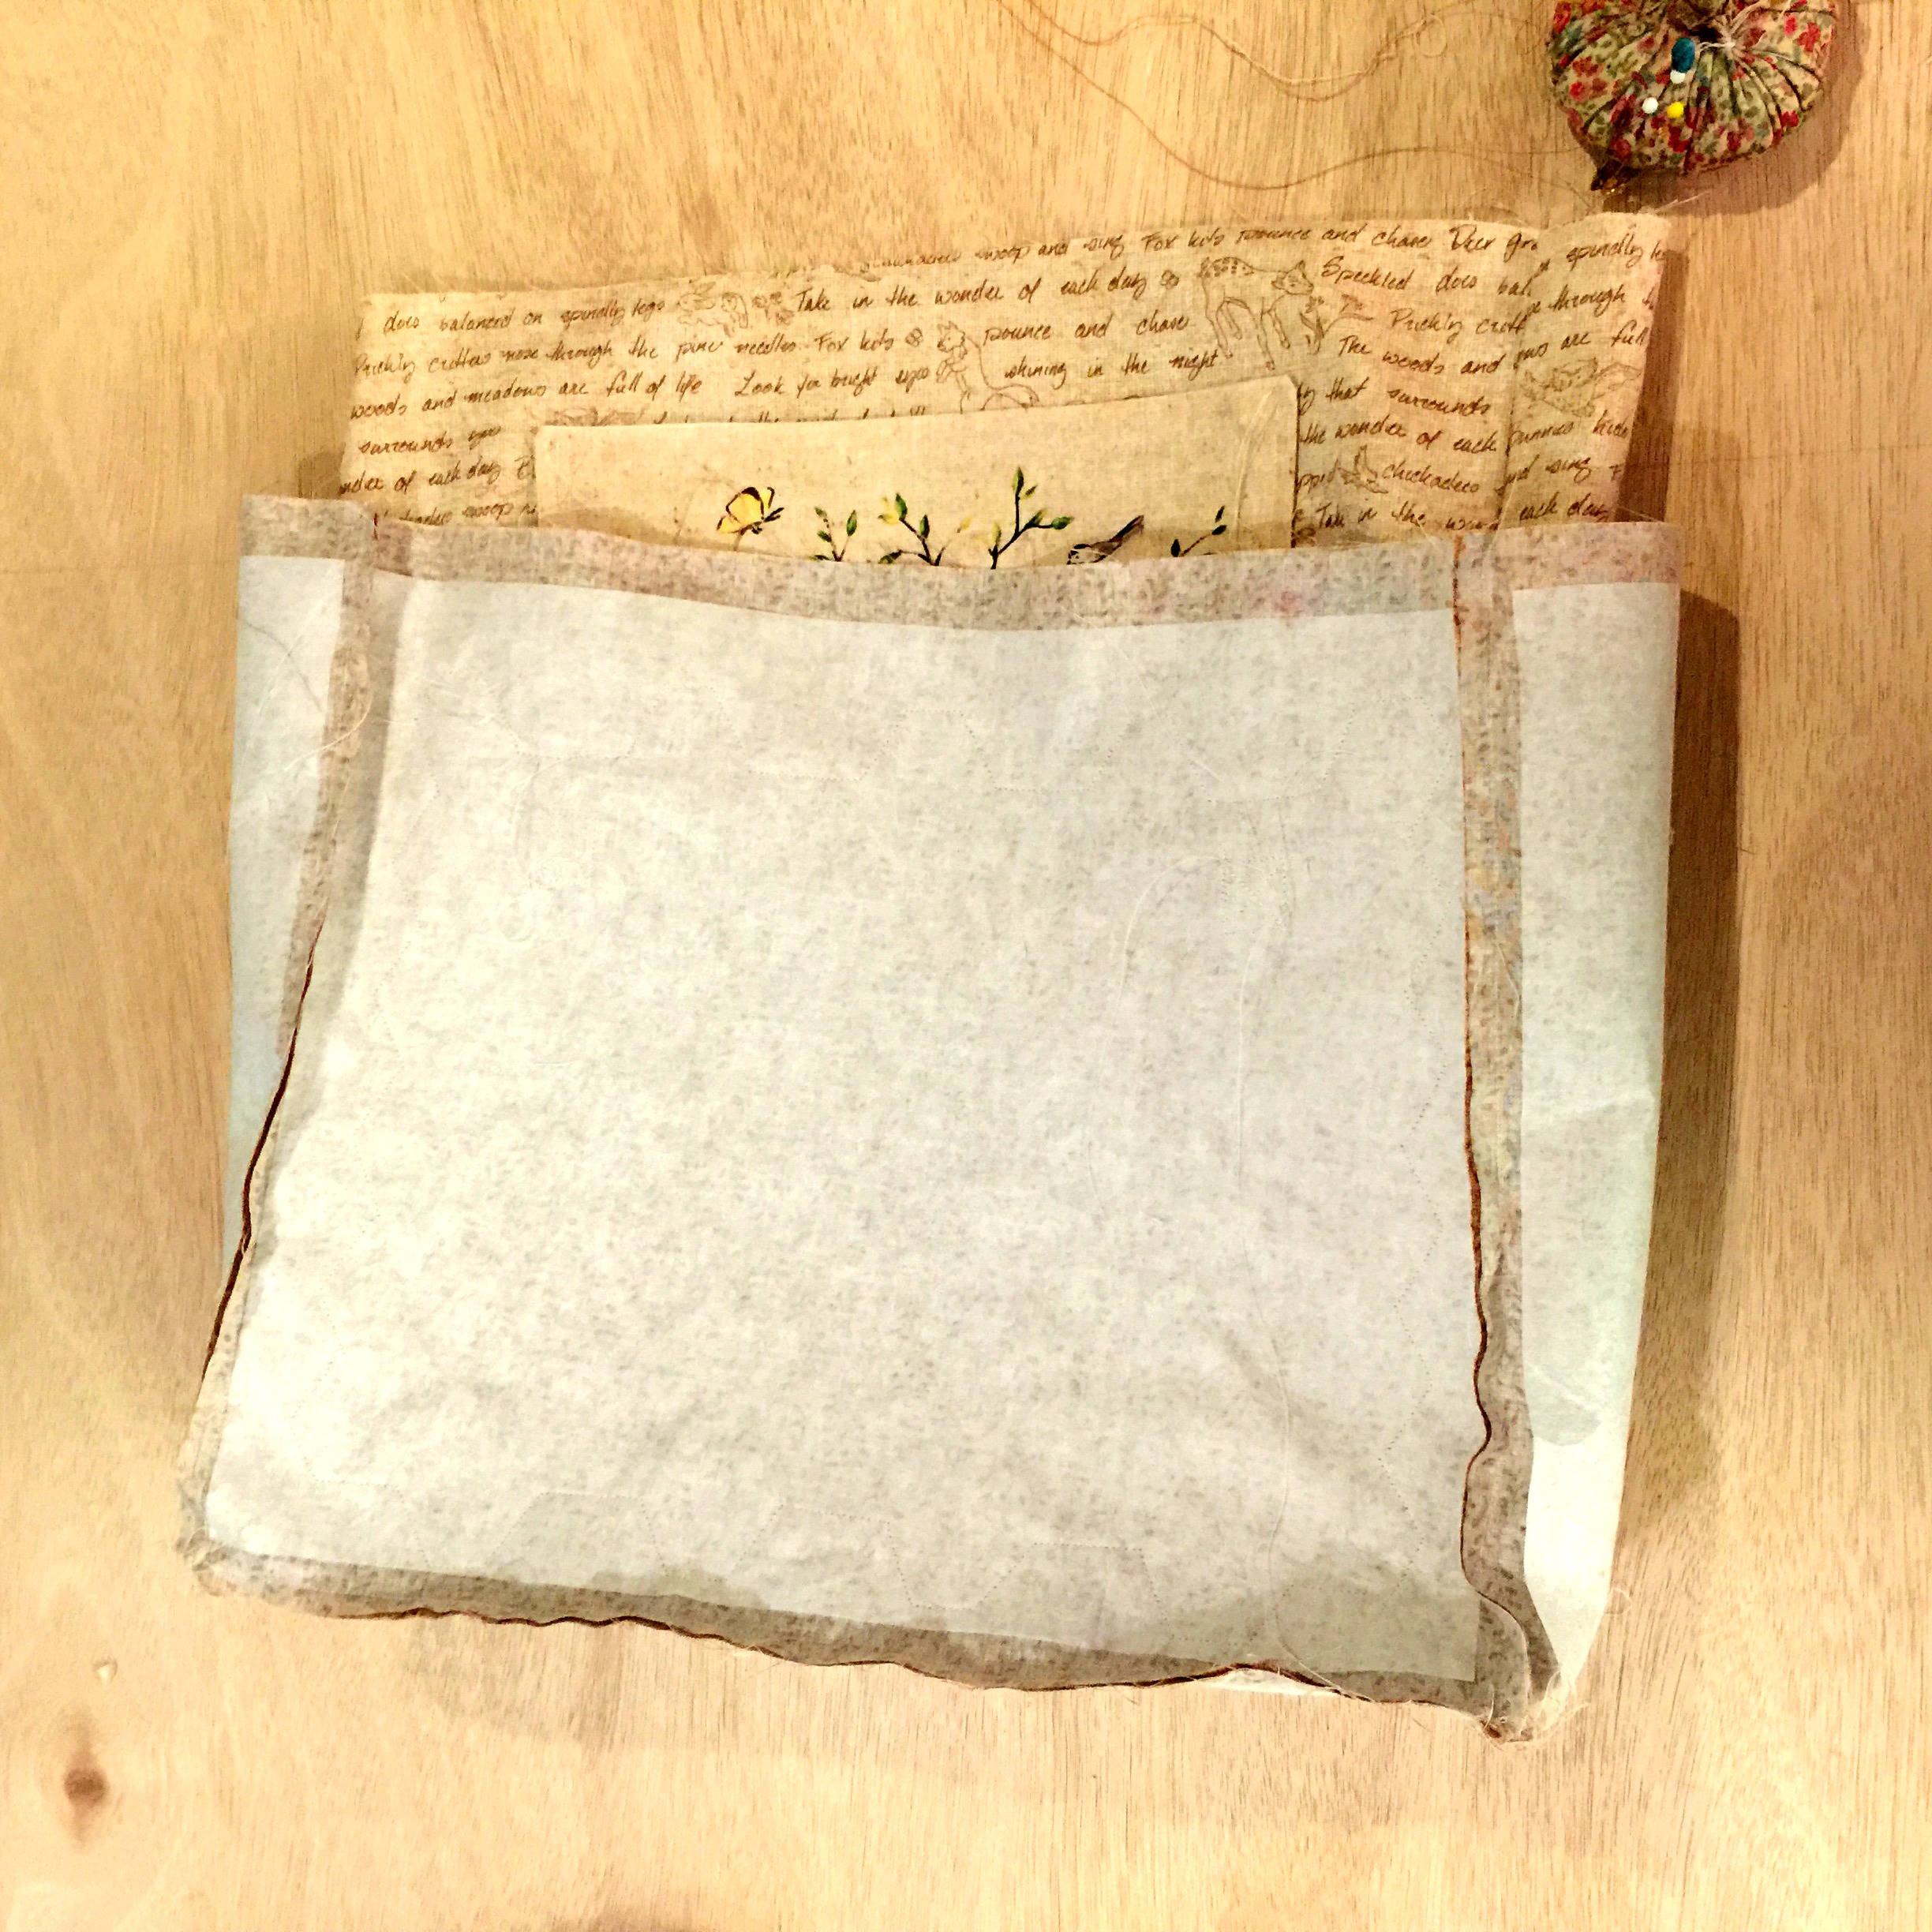
Iron the interfacing to the backside of all the lining (inner) fabric and to the straps.
Pair the pocket pieces right sides together, stitch around the outside edge leaving an 1.5" opening. Turn the pockets right side out and press them flat. Tuck in the open fabric edges so they match the seamed edges. Fold and pin all four straps in half, right sides together, then stitch along the open edges. Turn them right side out and press them flat.

Lay the tote front and back pieces right side up on your work surface. Thread a strap through each of the handle rings. Position the straps 2.50" down from the top edge and 3.25" from the outside edge. Check that the handle placement works with the natural indentations in your hexi block. Box stitch the strap ends in place to firmly anchor them to the tote front and back.

Carefully remove the paper pieces from the back of the blocks. Lay a hexi block over the Heat and Bond interfacing and trace around the outside edge with a pencil. Cut out the shape and iron it to the underside of the hexi block. Peel off the paper backing and iron it to the tote front, concealing the purse strap connections. Carefully topstitch around the outside edge of hexi block. Repeat the process with the second block and the fern tote back.

Center a pocket square on the front and back text pieces. Pin then stitch three sides of the pocket, leaving the top edge open and unsewn.

Placing right sides together, pin and stitch the text sides and base the pocket pieces.

Repeat the process to join the fern sides and base to the tote front and back.
Placing right sides together, feed the text lining into the brown fern exterior. Push the handles down between the layers to keep them out of the way. Machine stitch around the top edge leaving a six inch opening.

Turn the bag right side out and feed the plastic canvas into the base.

Tuck in the open edges and pin them in place. Top stitch around the top edge. Optional - to prevent the plastic canvas base piece from traveling, top stitch the side and base seams.

Here are all four views of the single bag: exterior and interior, front and back. Always keep your tote fully stocked with projects so that you're ready to create wherever you go!